Tub Drain Shoe Broke off

Plumbing Forums

Help Support Plumbing Forums:

This site may earn a commission from merchant affiliate links, including eBay, Amazon, and others.

kensation

Member
Joined
Aug 30, 2020
Messages
12
Reaction score
1
Location
Tempe
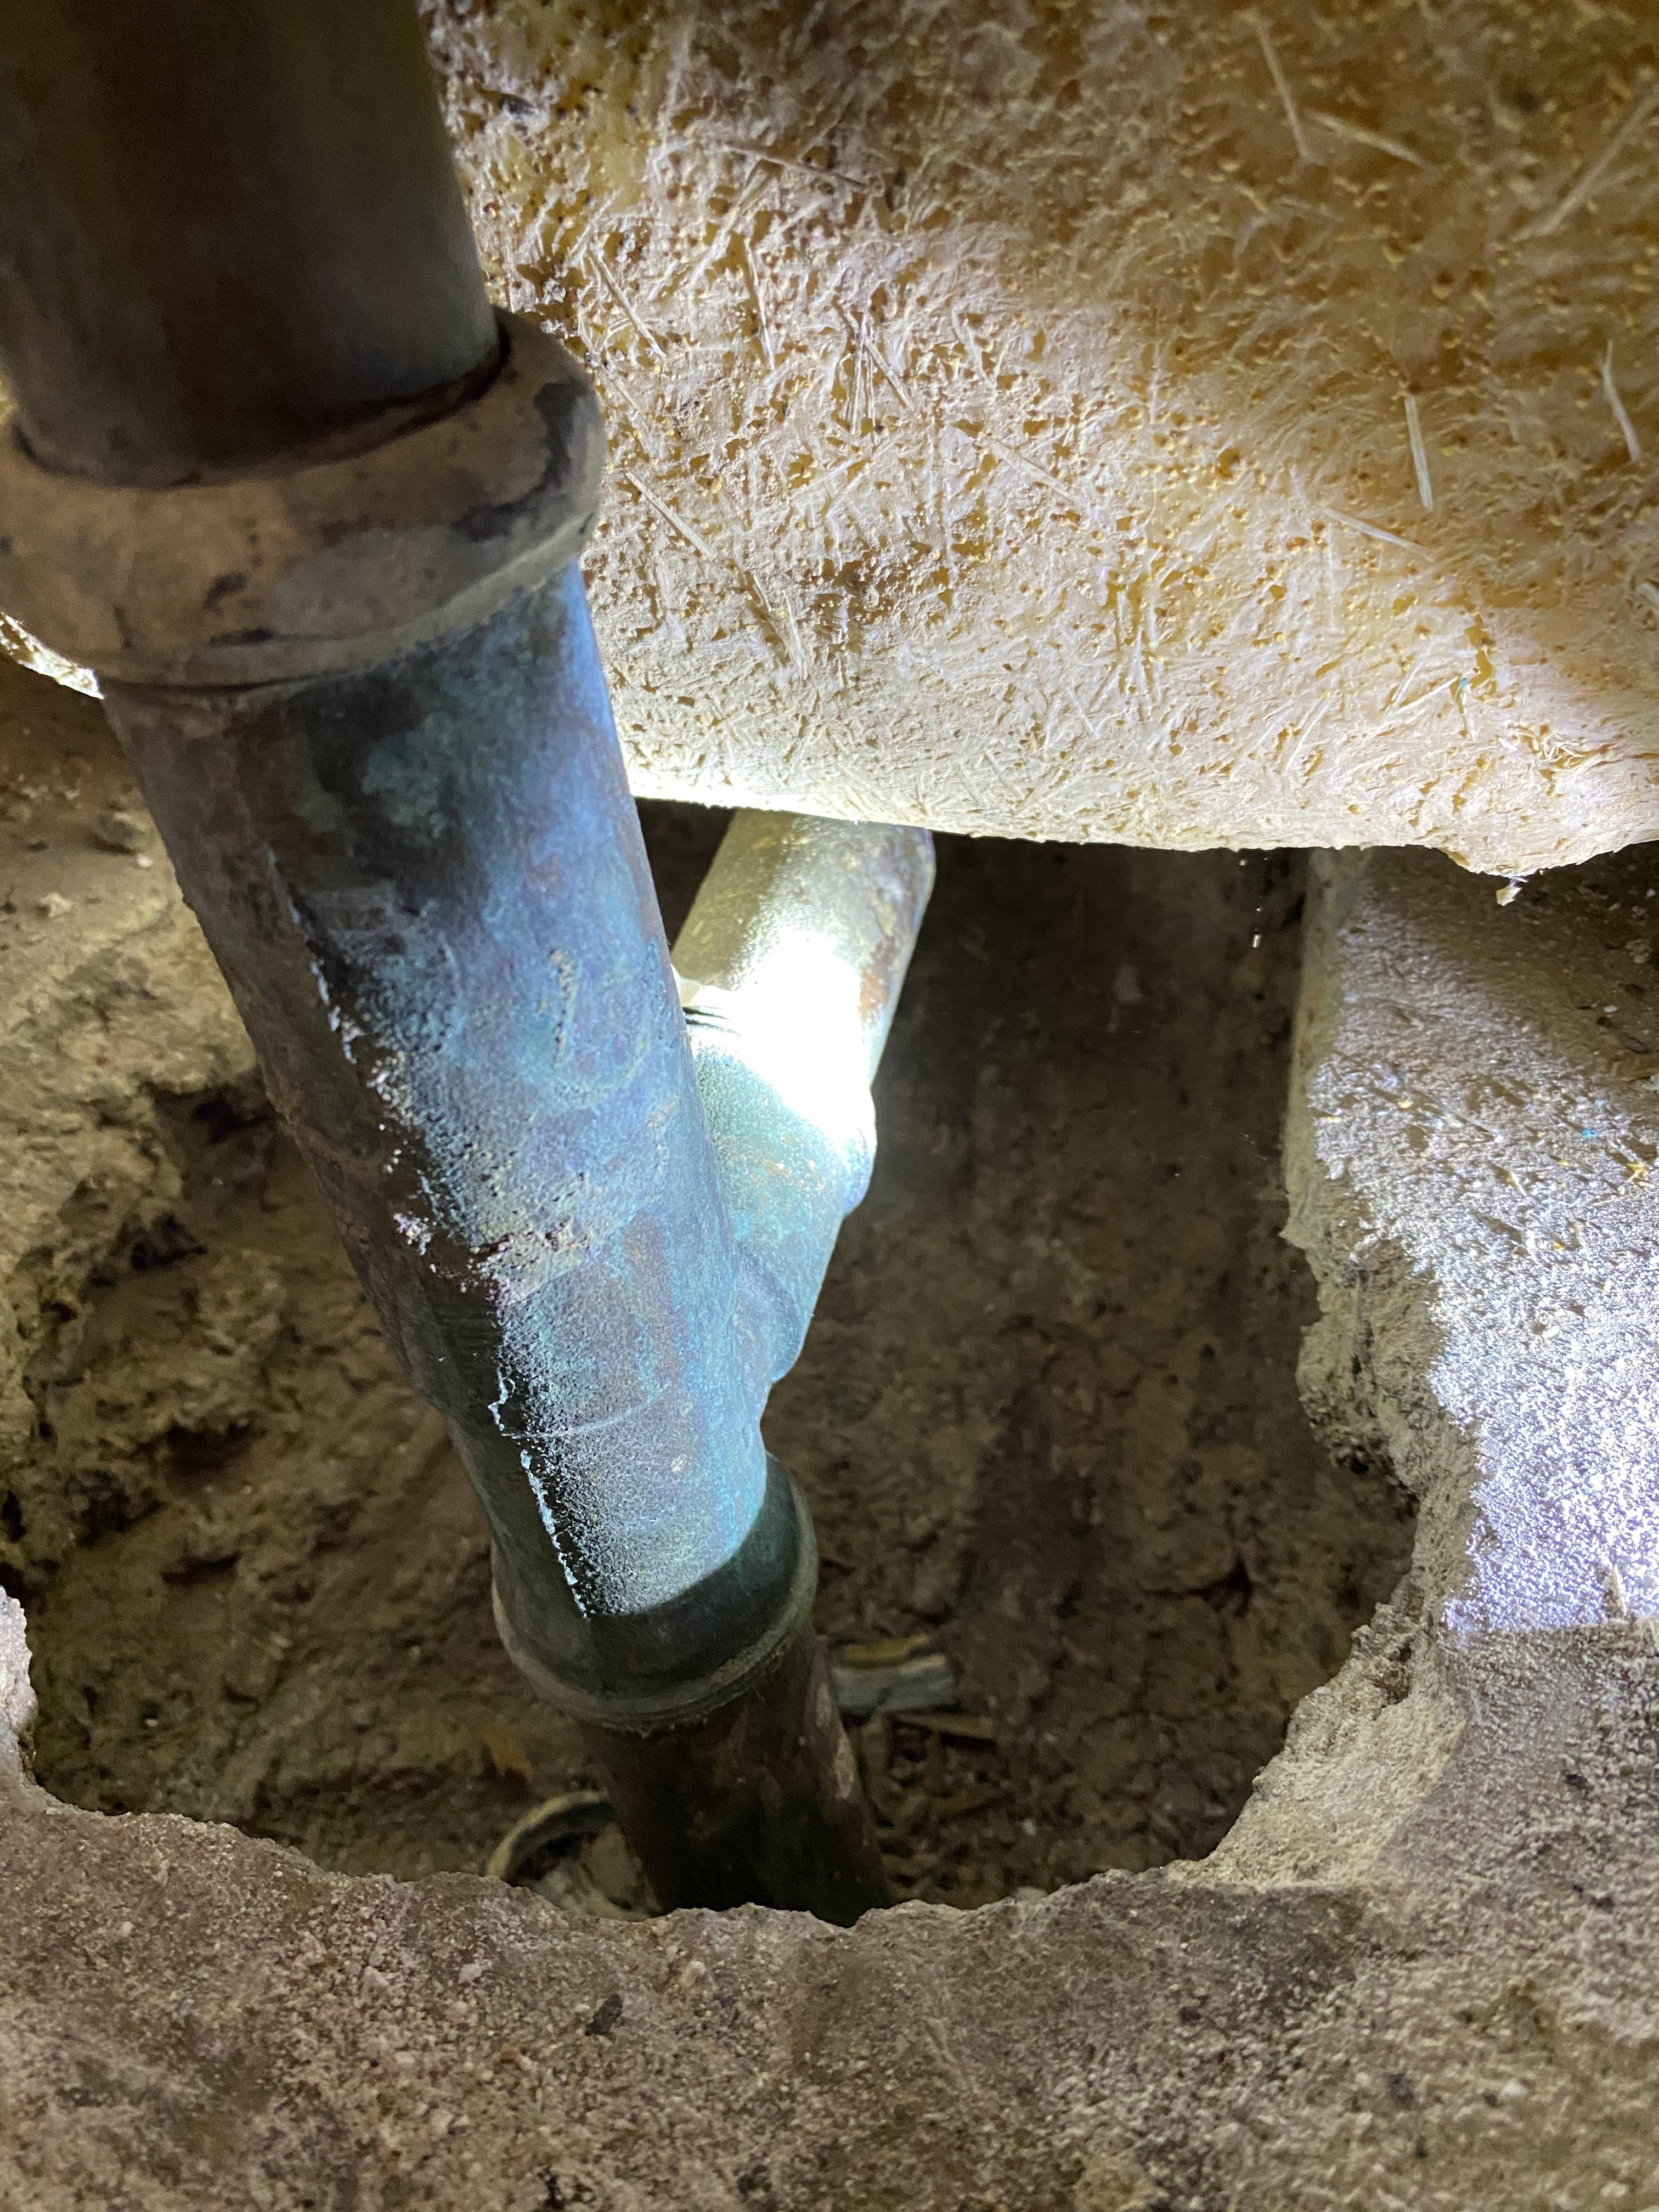
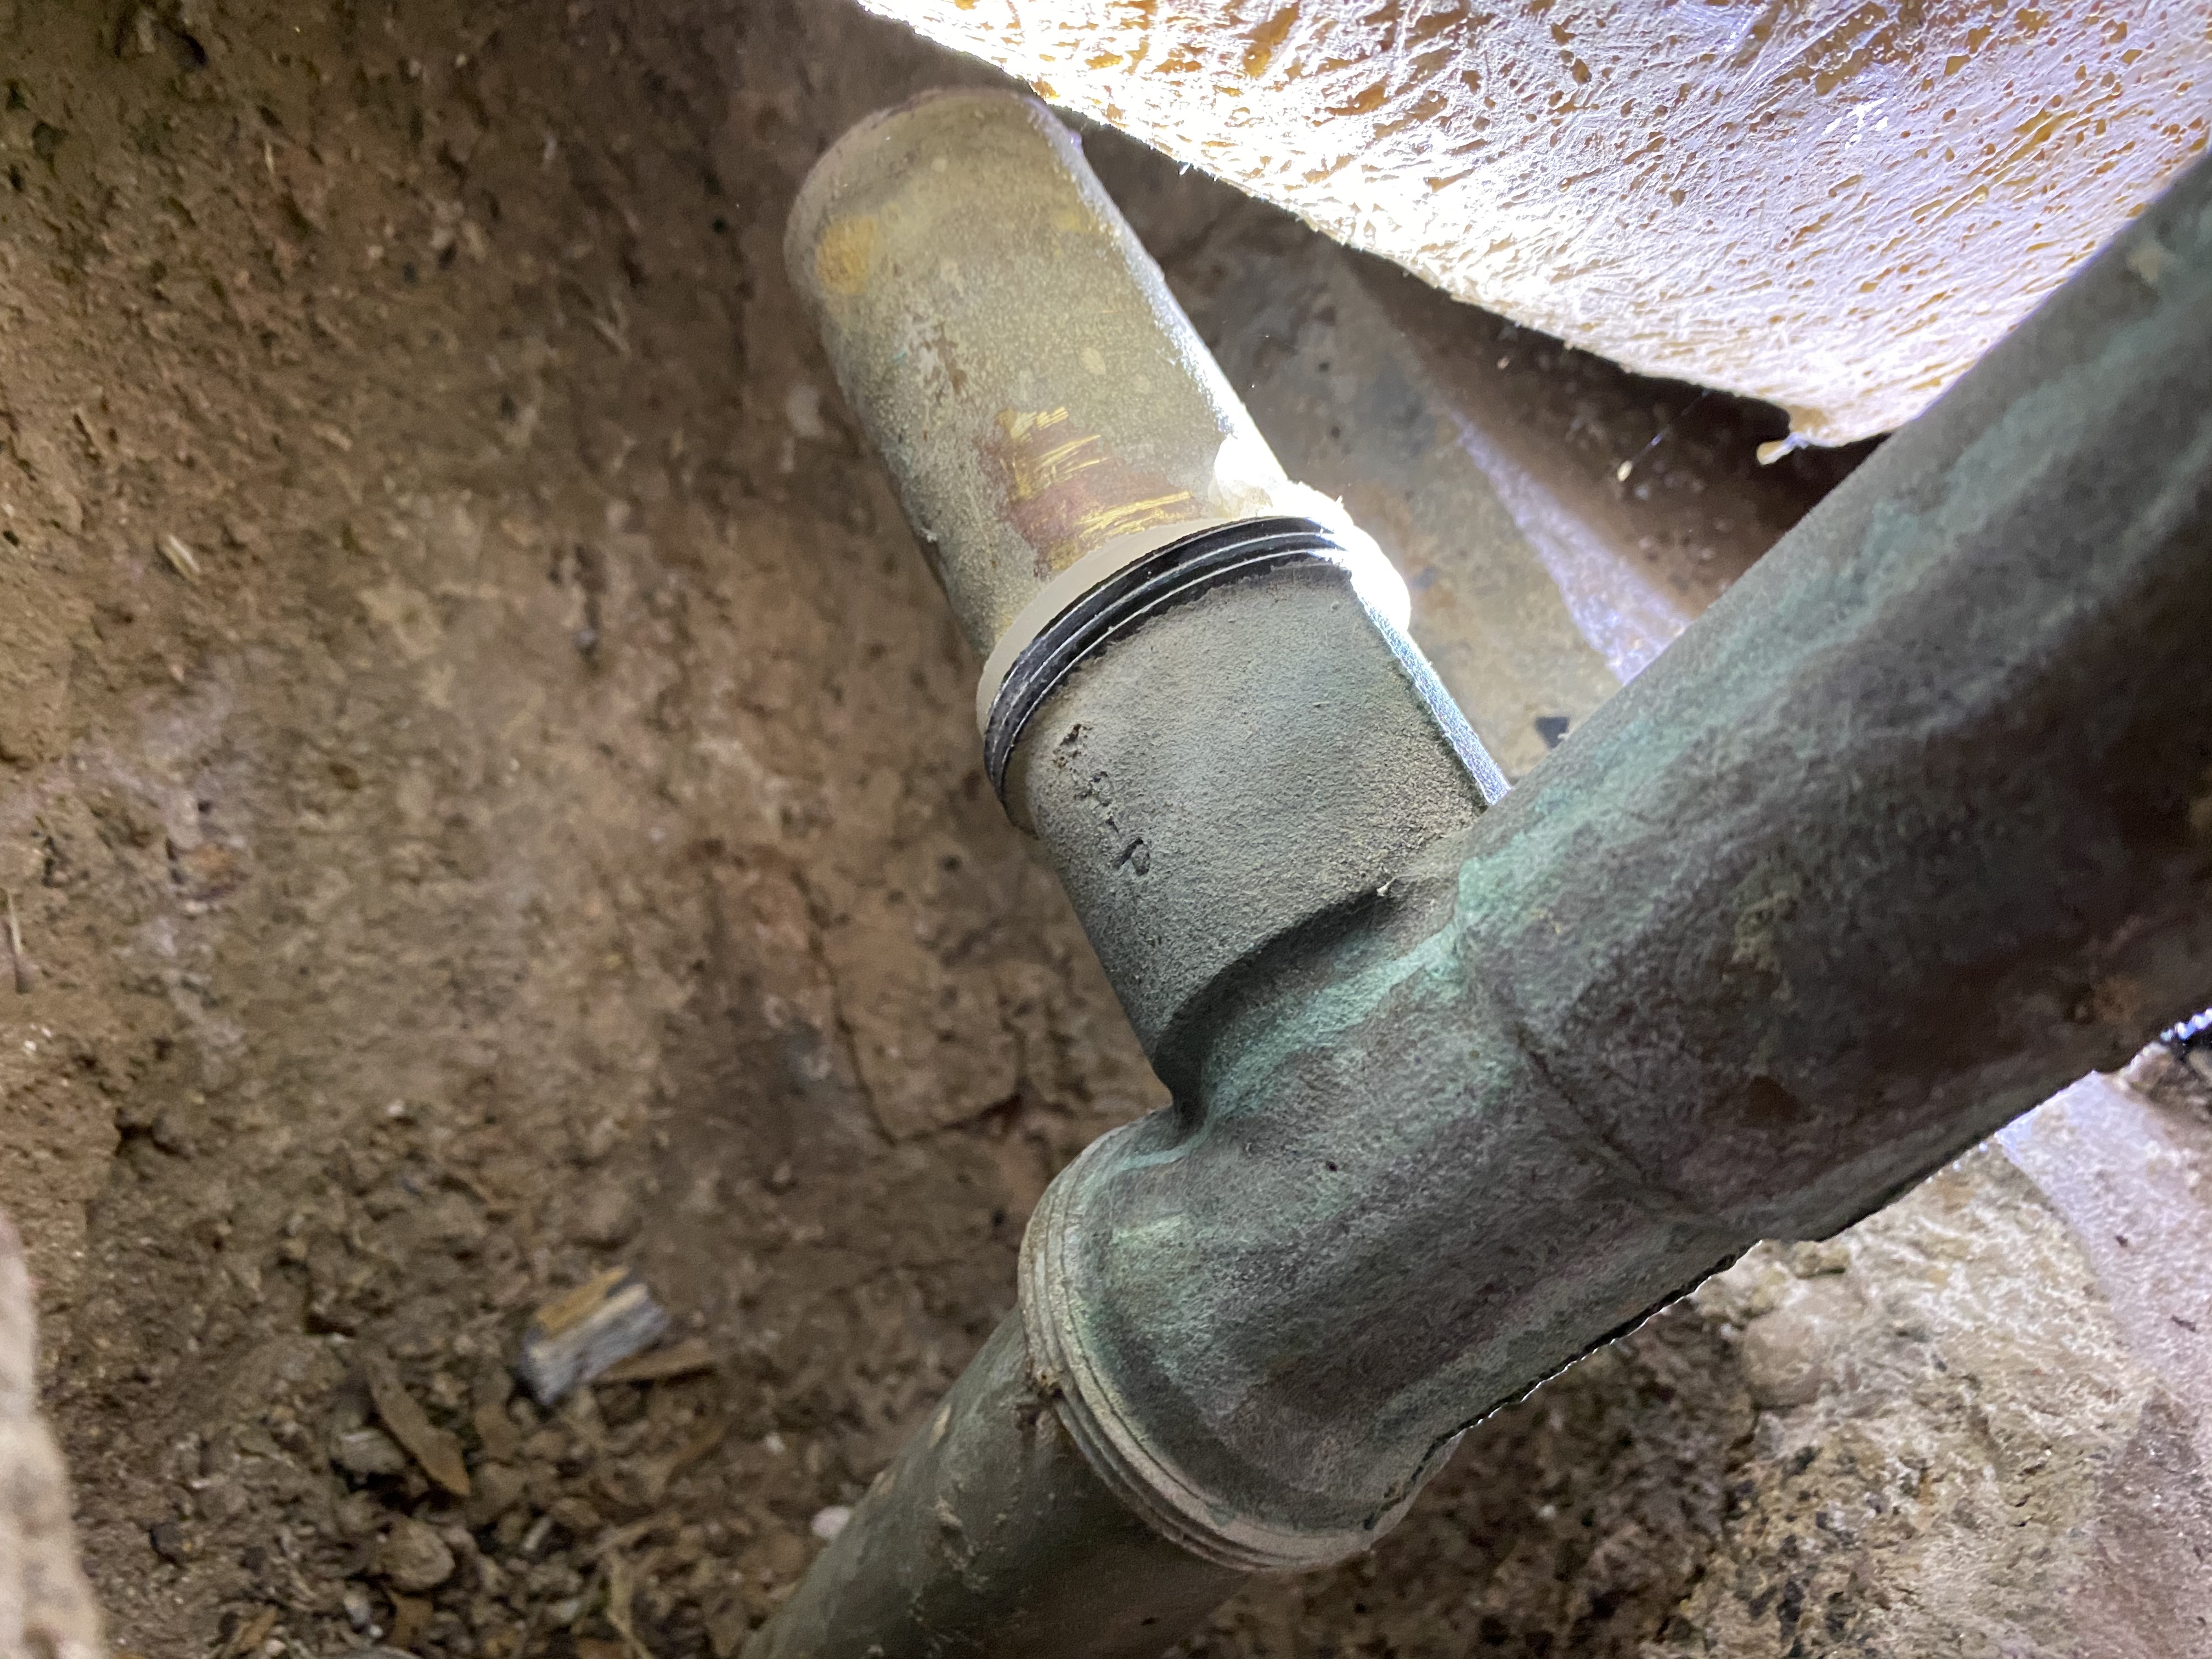
Hello all - new to the forum. Trying to further my education in regards to DIY plumbing so my family and I are not so reliant on 3rd party's for the simple stuff. Please forgive my ignorance, as I am still learning all the correct terminology. I have a tub drain in my guest bath that the brass shoe broke off the copper pipe. I ended up having to go through the reverse wall (wet wall) and remove the toilet to get to the pipes. I have pictures of the current situation:
syOf9Jd.jpg

4P5BJ9b.jpg


I think I can purchase something a replacement shoe and pipe from one of the big box stores for under $20. My question is in regards to how do I remove the current pipe that the shoe mounts to, as I cannot get it out of the "T" base pipe that connects everything together. And then once I do remove it, how do I attach the new one? Would I use something like pipe dope?

Thanks all!
 
Can't see what your connecting pipe is below the waste and overflow tee.
The easiest way is to get a new waste & overflow kit. I prefer brass. The Pfister model 19-020 is what we usually bought, that has brass nuts.
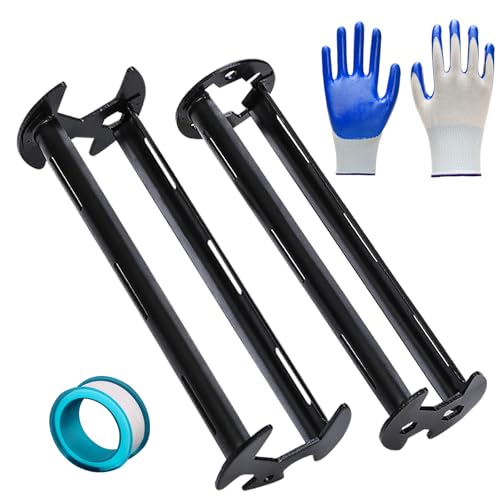
Then to make the drain connection, use a transition fitting. In plumbing jargon it is typically a Mission T150, which connects tubular (which is the tub drain fitting) to 1-1/2" pipe. If you have copper, then it is a KT150 (get it?: K for copper, and T for tubular.) The Show is removed with a tub drain tool. Use a plumber's putty suitable for fiberglass. Normal cheap putty is not suitable for fiberglass.
On Fiberglass, I personally prefer silicone.
This is possible to do yourself, maybe watch some youtube.
As with all plumbing, you might be better off having someone who has done this before because there are a myriad mistakes and problems that can occur.
 
That piece of pipe stub facing the old tub drain should just wiggle out.
It is just a compression fitting. Slip fitting.
I can still see the plastic washer by the threads of the tee.
There should have been a slip fitting nut on those threads.

Maybe try heating it up with a hair dryer for a few minutes first.

There also should be a slip nut on the threads at the bottom of the tee, maybe you removed that one?
 
Jeff, normally, there is not a slip-joint nut on the bottom of the tee.
That joint is fine threads on "tubular tailpiece" and comes loose in the box and is part of the assembly process, plus joint compound or teflon.
 
Can't see what your connecting pipe is below the waste and overflow tee.
The easiest way is to get a new waste & overflow kit. I prefer brass. The Pfister model 19-020 is what we usually bought, that has brass nuts.
Then to make the drain connection, use a transition fitting. In plumbing jargon it is typically a Mission T150, which connects tubular (which is the tub drain fitting) to 1-1/2" pipe. If you have copper, then it is a KT150 (get it?: K for copper, and T for tubular.) The Show is removed with a tub drain tool. Use a plumber's putty suitable for fiberglass. Normal cheap putty is not suitable for fiberglass.
On Fiberglass, I personally prefer silicone.
This is possible to do yourself, maybe watch some youtube.
As with all plumbing, you might be better off having someone who has done this before because there are a myriad mistakes and problems that can occur.

Thank you. This is exactly what I was looking for. The connecting pipe below the waste overflow tee is the pipe that goes into the sewer. I am not sure what diameter it is, but I will measure tomorrow. You have given me a good idea on what to do with the parts listed above. The only question I have is how do I disconnect the waste overflow tee from the pipe going to the sewer? Is that threaded? Or will I need to cut?

Thanks again!
 
That piece of pipe stub facing the old tub drain should just wiggle out.
It is just a compression fitting. Slip fitting.
I can still see the plastic washer by the threads of the tee.
There should have been a slip fitting nut on those threads.

Maybe try heating it up with a hair dryer for a few minutes first.

There also should be a slip nut on the threads at the bottom of the tee, maybe you removed that one?

Thank you for the response! I will keep that in mind!
 
is this a slab home, if so there is a trap buried just under the pipe shown sticking up from the dirt you need to clear more away so we can see what the tub was connected to

I will take another look tomorrow and take some more pictures. From what I can tell, the pipe goes straight into the ground. But I didn't look closely enough to know for sure.

The solution breplum gave me should do the trick, at least I can picture everything he explained as solving this issue.

Thanks!
 
Jeff, normally, there is not a slip-joint nut on the bottom of the tee.
That joint is fine threads on "tubular tailpiece" and comes loose in the box and is part of the assembly process, plus joint compound or teflon.
Thanks breplum, it has been a looong time since I worked on a brass tub drain assembly.

What is the purpose of the male threads on the bottom end of the tee?
 
is this a slab home, if so there is a trap buried just under the pipe shown sticking up from the dirt you need to clear more away so we can see what the tub was connected to

There doesn't appear to be any trap down there. The pipe goes straight into the dirt:

IMG_1449.jpg
 
Can't see what your connecting pipe is below the waste and overflow tee.
The easiest way is to get a new waste & overflow kit. I prefer brass. The Pfister model 19-020 is what we usually bought, that has brass nuts.
Then to make the drain connection, use a transition fitting. In plumbing jargon it is typically a Mission T150, which connects tubular (which is the tub drain fitting) to 1-1/2" pipe. If you have copper, then it is a KT150 (get it?: K for copper, and T for tubular.) The Show is removed with a tub drain tool. Use a plumber's putty suitable for fiberglass. Normal cheap putty is not suitable for fiberglass.
On Fiberglass, I personally prefer silicone.
This is possible to do yourself, maybe watch some youtube.
As with all plumbing, you might be better off having someone who has done this before because there are a myriad mistakes and problems that can occur.

Thanks again for your help. I have ordered a Pfister #19-020. My last two questions are:

1.) How do I get the T off the pipe going into the dirt:
4P5BJ9b.jpg
Is there a slip-joint nut on that one as well? Or will I need to cut this off?

2.) And lastly. In regards to the transition coupling. I think the pipe going into the dirt is copper/brass (it is 1 1/2" and a magnet does not stick to it), and the Pfister #19-020 is copper/brass as well, so I would need to purchase a Mission KT150, correct?

Thanks!
 
Last edited:
Thanks again for your help. I have ordered a Pfister #19-020. My last two questions are:

1.) How do I get the T off the pipe going into the dirt:
View attachment 25322
Is there a slip-joint nut on that one as well? Or will I need to cut this off?

2.) And lastly. In regards to the transition coupling. I think the pipe going into the dirt is copper (it is 1 1/2" and a magnet does not stick to it), and the Pfister #19-020 is copper as well, so I would need to purchase a Mission KT150, correct?

Thanks!
that is threaded connection,if your gonna change that piping just cut it its only thin brass,but leave yourself some room above the dirt so nothing falls into the drain
 
Last edited:
that is threaded connection,if your gonna change that piping just cut it its only thin brass,but leave yourself some room above the dirt so nothing falls into the drain

Ok. Good to know. I am not planning on cutting too much off, as little as possible actually. Also - would the Mission KT150 work for me?
 
Ok. Good to know. I am not planning on cutting too much off, as little as possible actually. Also - would the Mission KT150 work for me?
are you replacing the waste and over flow piping,not what the mission coupling is for unless I'm missing something
you want to replace the piping shown in the pics with the kit from price pfister then connect to what ever is in the ground am i on the right track????? unless your using it to connect to what we can't see yet

I have made a diagram showing what I am envisioning in my head:
tub-diagram.jpg
 
Thanks again for your help. I have ordered a Pfister #19-020. My last two questions are:

1.) How do I get the T off the pipe going into the dirt:
View attachment 25322
Is there a slip-joint nut on that one as well? Or will I need to cut this off?

2.) And lastly. In regards to the transition coupling. I think the pipe going into the dirt is copper/brass (it is 1 1/2" and a magnet does not stick to it), and the Pfister #19-020 is copper/brass as well, so I would need to purchase a Mission KT150, correct?

Thanks!
Yes, a KT150 or equal from other mfr. Just make sure it has a stainless steel band with hose clamps and not just two hose clamps with rubber in between. There is a tool to properly tighten no-hub bands to the correct 60 in/lbs torque.

The red box in your picture: No slip joint nut typically required because that is a threaded tailpiece which had been screwed in and has joint compound/or teflon tape.

Thank you so much. I have some good teflon tape I am going to use when replacing these pipes. The only thing I'm missing is a tool to tighten the coupling to the correct torque. I will secure one of those prior to installing this.
 
Back
Top