For those of us who have exposed electric sprinkler valves, we know it is a natural attraction for dogs to eat the wires. It is also an area where kids play with the adjustments, and gardeners tend to destroy way too often.
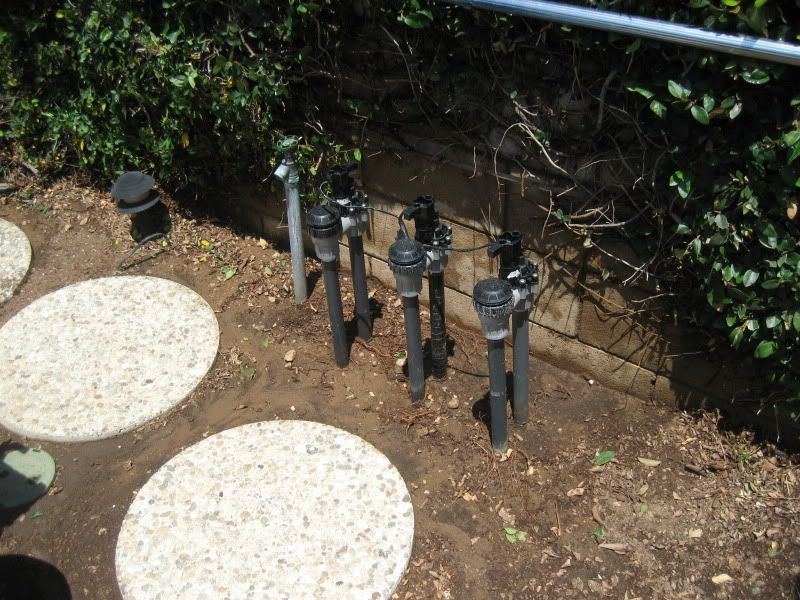
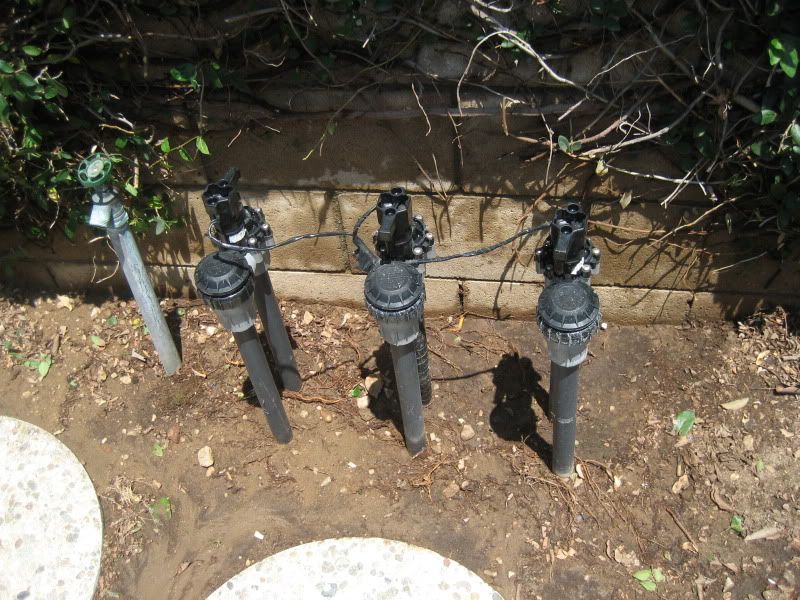
Using exterior plywood, simply make a box large enough to accomodate the sprinkler valves and additional upper storage. use exterior glue and attach it using brad nails.
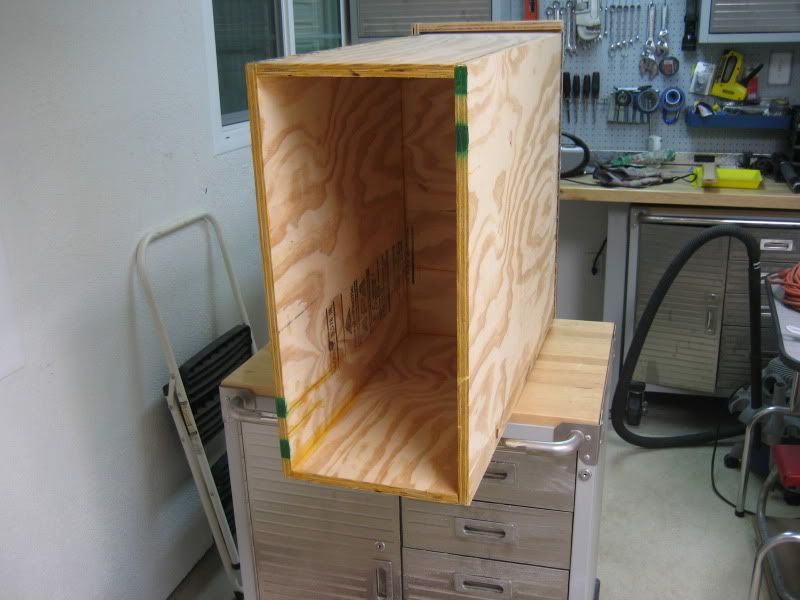
Add an interior shelf high enough to cover the tops of the sprinklers, and again use exterior glue and brad nails to attach.
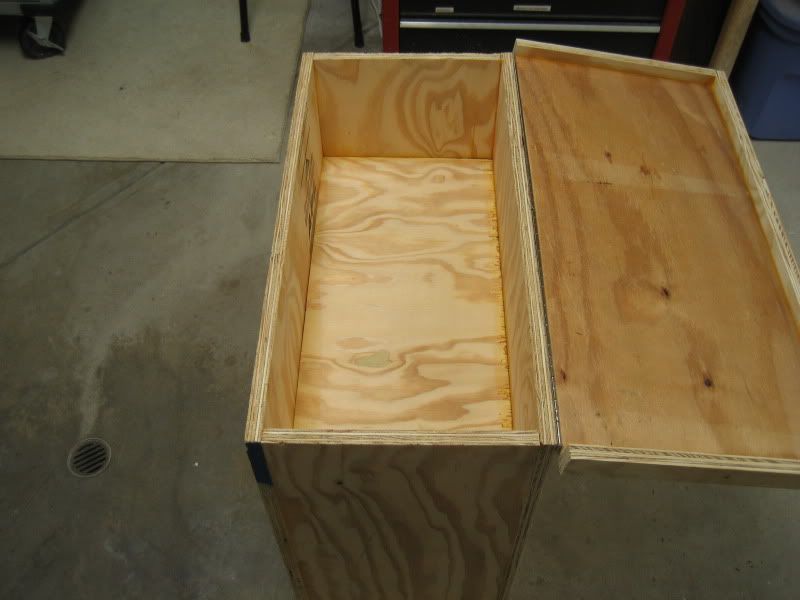
Install a full length rust proof piano hinge on the back side for added support.
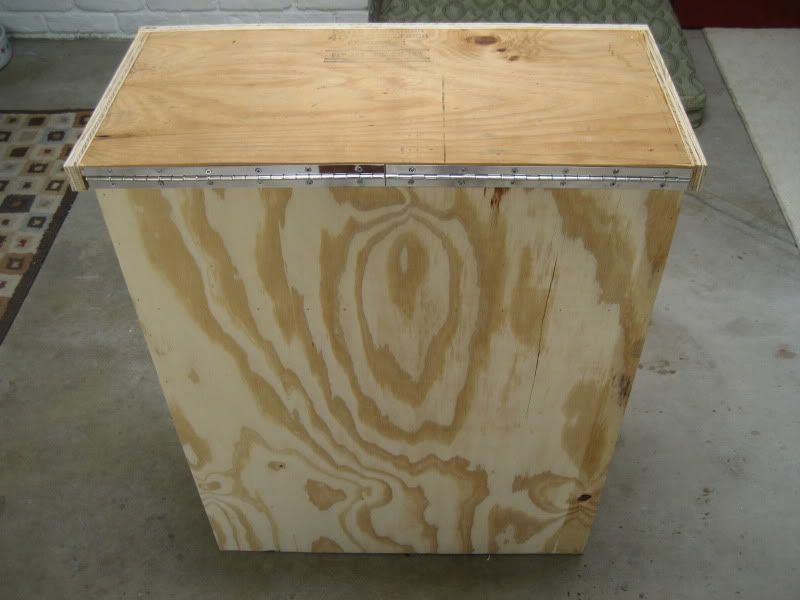
Use any extra plywood for additional lid support and to keep the rain from entering the box.
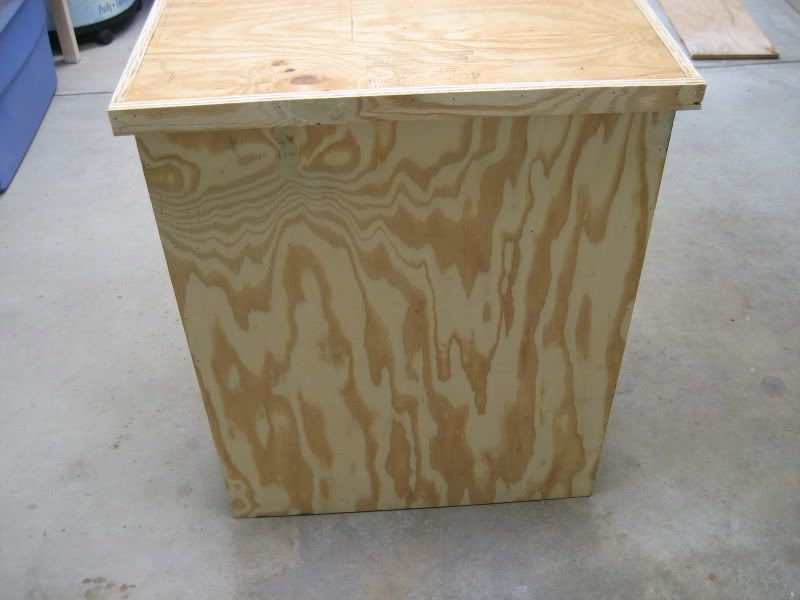
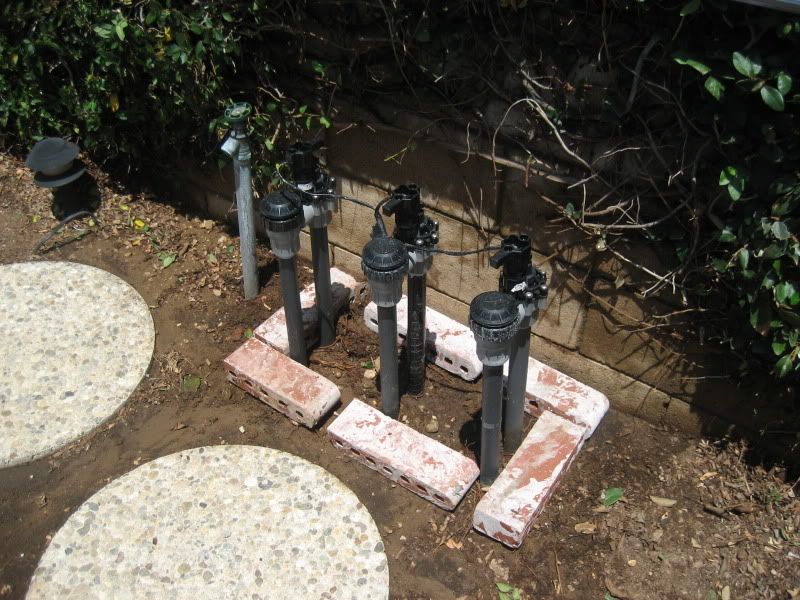
Line the ground with bricks or similar to keep the wood from staying on the wet soil and attracting termites.
Fill the upper portion with pool supplies, garden tools, or anything you want to keep little hands from touching.
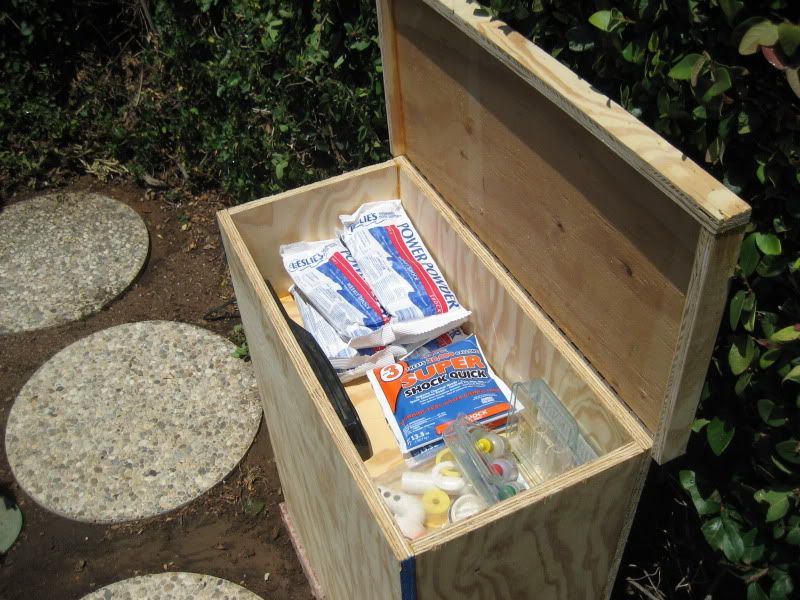
This is the finished product, ready to prime and paint, using exterior grade paint.
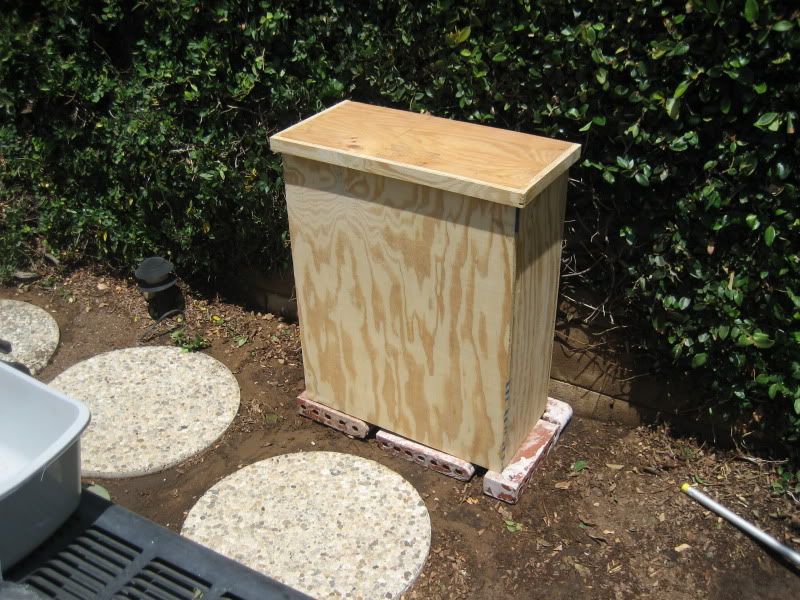
Since the wife loves to tile, we might add some tile on top, but paint the rest of it. I hope you enjoyed!


Using exterior plywood, simply make a box large enough to accomodate the sprinkler valves and additional upper storage. use exterior glue and attach it using brad nails.

Add an interior shelf high enough to cover the tops of the sprinklers, and again use exterior glue and brad nails to attach.

Install a full length rust proof piano hinge on the back side for added support.

Use any extra plywood for additional lid support and to keep the rain from entering the box.

Line the ground with bricks or similar to keep the wood from staying on the wet soil and attracting termites.

Fill the upper portion with pool supplies, garden tools, or anything you want to keep little hands from touching.

This is the finished product, ready to prime and paint, using exterior grade paint.

Since the wife loves to tile, we might add some tile on top, but paint the rest of it. I hope you enjoyed!


